
Table of Contents
Chapter 1 Walkthrough
- Head out the front door and walk through the path till you reach the split. Go left, then right at the old oak tree.
- You’ll discover the Wisecracker sitting on his front porch. He’ll tell you about strange noises he’s heard from the abandoned warehouse.
- Head to the warehouse and enter through the large sliding door at the side of the building. You will find clues about what is occurring.
- After exploring, go back to the Wisecracker. Tell him what you found, and he will give you a mysterious artifact.
- Take the artifact to the library and do some research. You’ll discover it is connected to the season you are experiencing and holds the key to advancing to the next chapter.
Chapter 2 Walkthrough

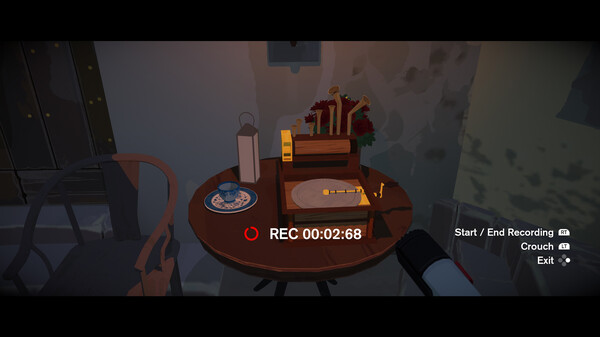
- Once the chapter begins, you’ll find yourself in a familiar yet different version of your room. Look around at the details and changes.
- Head over to the mirror in your room. Your reflection will provide the first big shock. Study your older self closely. Think about how the passage of time might have changed you, then get ready to dive into the memories.
- Touching certain items around the room will transport you into memories of important events in your life. Explore them fully. Try making different choices or exploring new paths. These memories are meant to be interactive.
- A letter will eventually appear that provides more details about this future world and what has happened since. Read it carefully, as it contains critical information to progress the story.
- The chapter will end once you’ve explored the memories and read the letter.
Chapter 3 Walkthrough
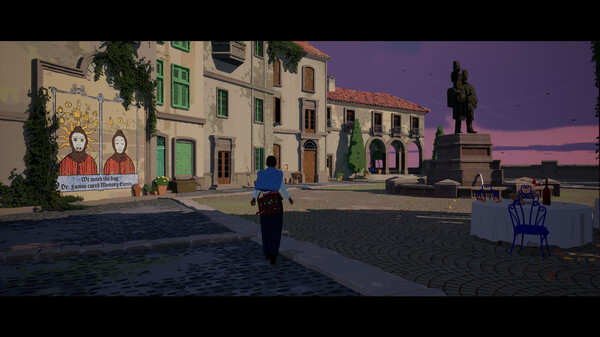
Chapter 3 of Season: A Letter to the Future will take you to 2025, five years after the events of the prolog and the first two chapters.
Seeding the Clouds
In this chapter, you’ll get the opportunity to seed clouds to produce rain. Your goal in this chapter is to produce enough rain to help local farmers deal with drought conditions.
- Select the ‘Seed Clouds’ option from the bottom action bar.
- Click and drag to draw a line through the cumulus clouds you want to seed. The line will turn red to indicate the area that will be seeded.
- Press the ‘Seed Clouds’ button to release the silver iodide into the designated cloud area.
- Watch the radar map to see the clouds develop into rain clouds, and rain begin to fall. The farmers will thank you!
Chapter 4 Walkthrough
- Enter the Portal
- Find the Four Artifacts
- Solve the Picture Frame Puzzle
- Find the Final Artifact
Chapter 5 Walkthrough
- Exploring the Desert
- The Abandoned Mine


Leave a Reply